
Table of contents
Chafing, blisters, water blisters — these are the eternal “side effects” of treks and ascents. Even the most seasoned hikers are not immune to them. We have seen this first-hand with participants in our hiking and mountaineering programs. Therefore, this instruction article will be useful to everyone — from beginners to athletes, tour guides, and team leaders.
Here we explain why blisters form (especially on soles, heels, and between toes) and how not to rub your feet in new footwear. We give step-by-step recommendations on what to do with a water blister when it appears on the trail. We also share tips on preventing skin chafing, because prevention is always better than treating an existing wound.
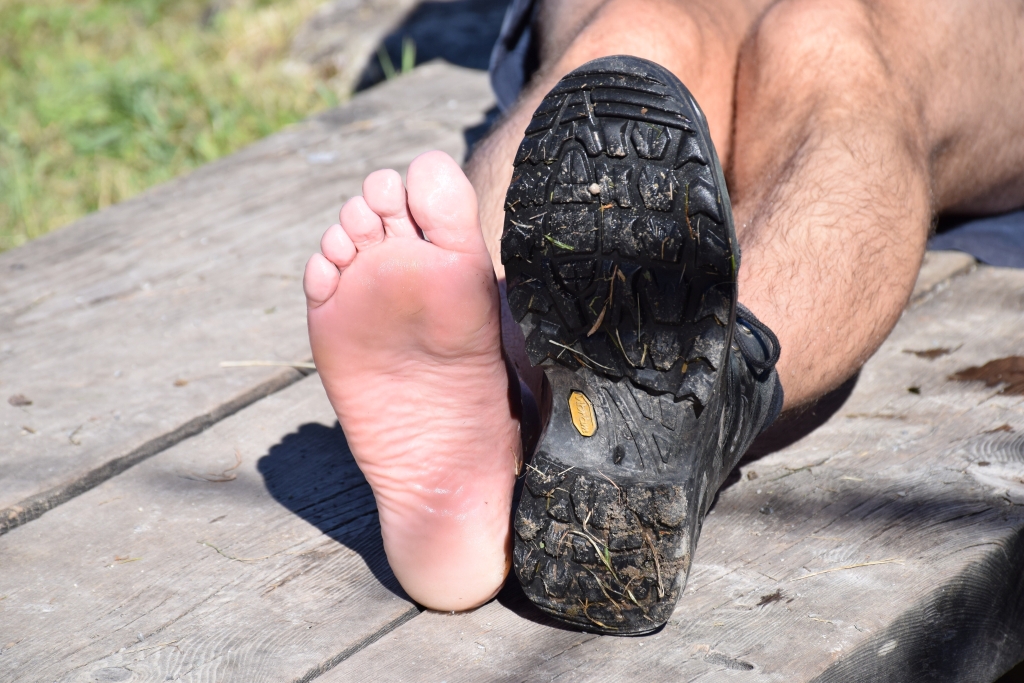
It may seem like a small nuisance — just rubbed skin with a little blister under it (it’s not even a fracture)… yet it can grow into a serious obstacle that prevents you from completing the route or even forces you to quit early. That is a problem not only for the sufferer but for the whole group, so everyone must know everything about water blisters.
The main cause of blisters is mechanical friction, especially under load or pressure (for example, from heavy gear weight, tight-fitting footwear, or clothing). Additional factors are heat and moisture. But we will cover everything in order.
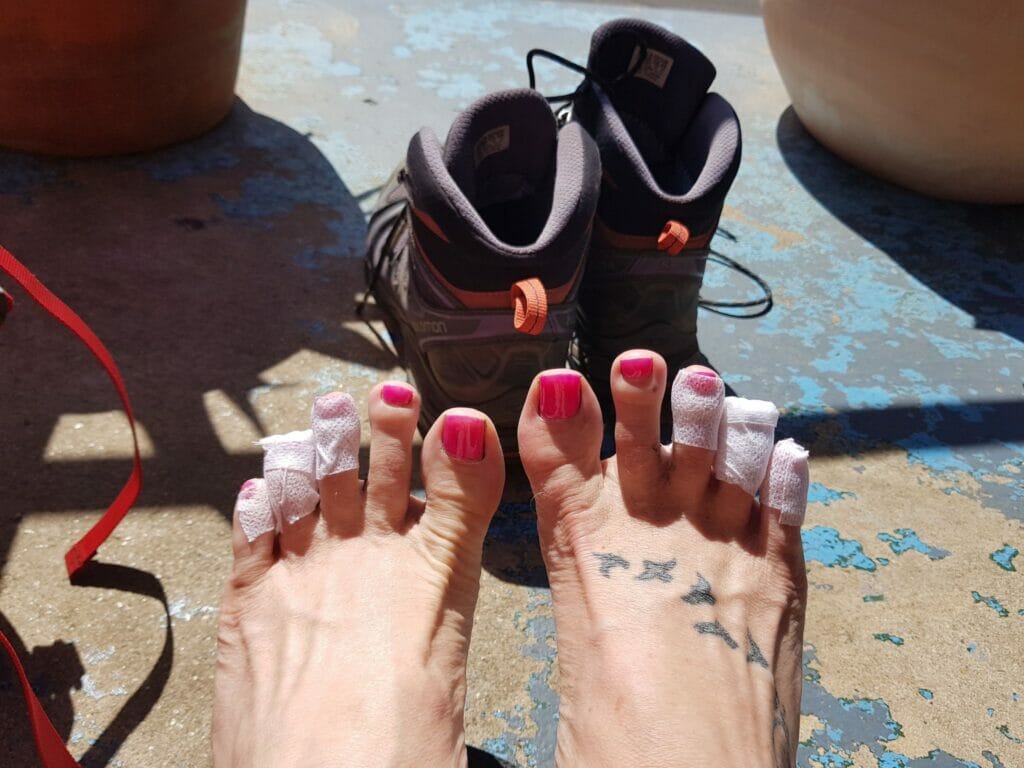
For convenience, our overview and recommendations will mostly concern foot blisters caused by footwear. Of course, on a trek chafing and blisters can also occur on other parts of the body — for instance, on palms from trekking-pole grips or an ice-axe leash; on shoulders, waist, or hips from rucksack straps and hip-belt; and from coarse, uncomfortable clothing between the legs, on the inner thighs, or under the arms.
Stages in the formation of water blisters:
The main danger of blisters is that they burst and lose their seal; infection can enter the wound. This is the answer to beginners’ favorite questions like whether you may pierce or cut a water blister by yourself. No! Especially not in the field. On the contrary, make every effort to keep the blister from bursting. First-aid measures to prevent infection may be insufficient, so at the first signs (swelling, pus) the best course is to leave the route and see a doctor.
 The skin is the human body’s largest organ; it too must be protected from damage
In brief, you must: prevent destructive friction of skin by coarse materials, reduce the risk of limb swelling, avoid overheating, and keep those body areas most prone to rubbing as dry as possible. Sounds clear yet abstract? Let’s get specific.
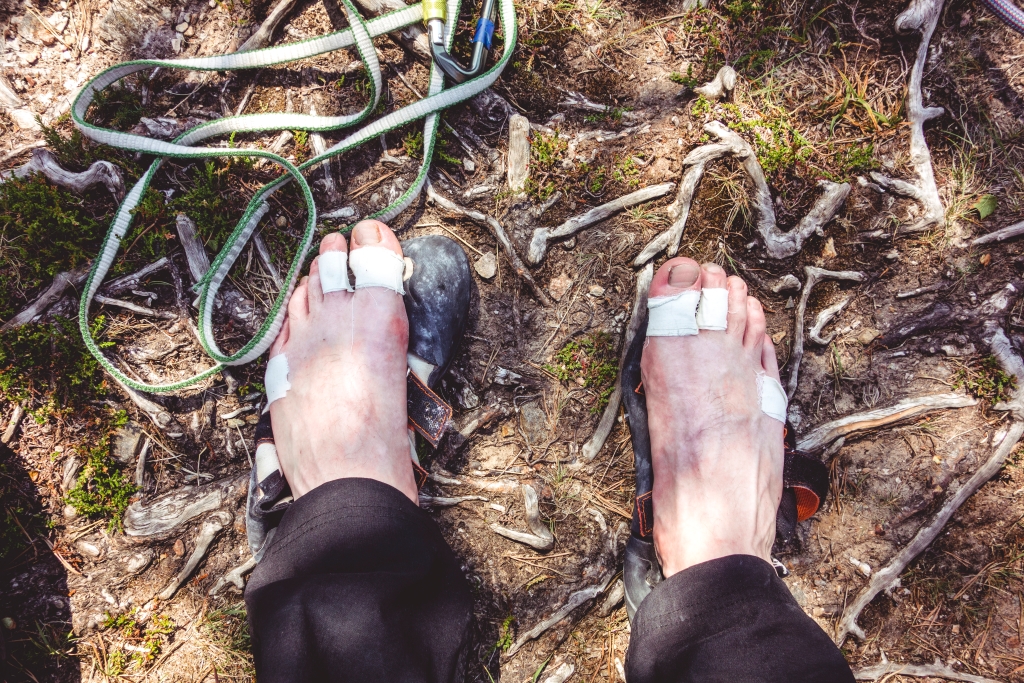
To neutralize this factor, you need to ensure sliding between the skin and the “aggressive” material. At minimum, prevent direct contact — for example, wear gloves (so the leash slides on fabric, not skin), a smooth synthetic T-shirt, trekking socks, or apply tape to protect delicate skin.
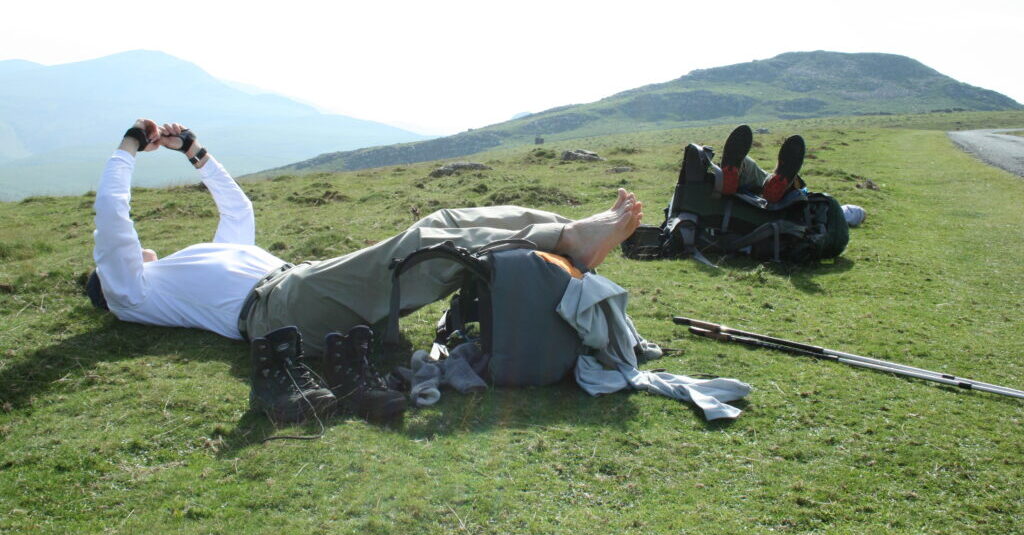
To reduce swelling, cut salty and smoked foods from your diet and add potassium-rich foods. On the route, raise your legs during breaks — e.g., lay them on your pack or a tree trunk.
Avoid excessive wetting from inside (sweat) and outside (precipitation, water bodies). Choose moisture-resistant, breathable, thermoregulating, quick-drying gear; follow the three-layer clothing concept. Cross rivers in spare footwear; change wet socks more often or use membrane socks. Dry feet thoroughly before putting on footwear.
Choose the right footwear and learn to adjust it with lacing. In most cases, footwear is the culprit behind blisters, so buying it must be taken responsibly. We explained how to choose the right model in the articles “About Trekking Shoes” and “About Trekking Boots.” The basics: footwear type must match route type (brands usually specify purpose and seasonality), pick the most comfortable last and a slightly larger size to account for trekking socks and swelling. Ask a shop consultant or watch video instructions on proper lacing so the boot is secure yet doesn’t squeeze the foot.
Bring spare footwear and insoles. High-mountain and trekking boots are usually heavy, and membrane shoes breathe poorly, so pack a light pair for rest (Crocs, flip-flops, or sandals — main thing: the foot breathes and isn’t compressed). For insoles: on a long tough trek they may be what rubs the sole, heel, or toes (you won’t know until you’re out there). Bring a spare pair — either ready-made anatomical or custom-made.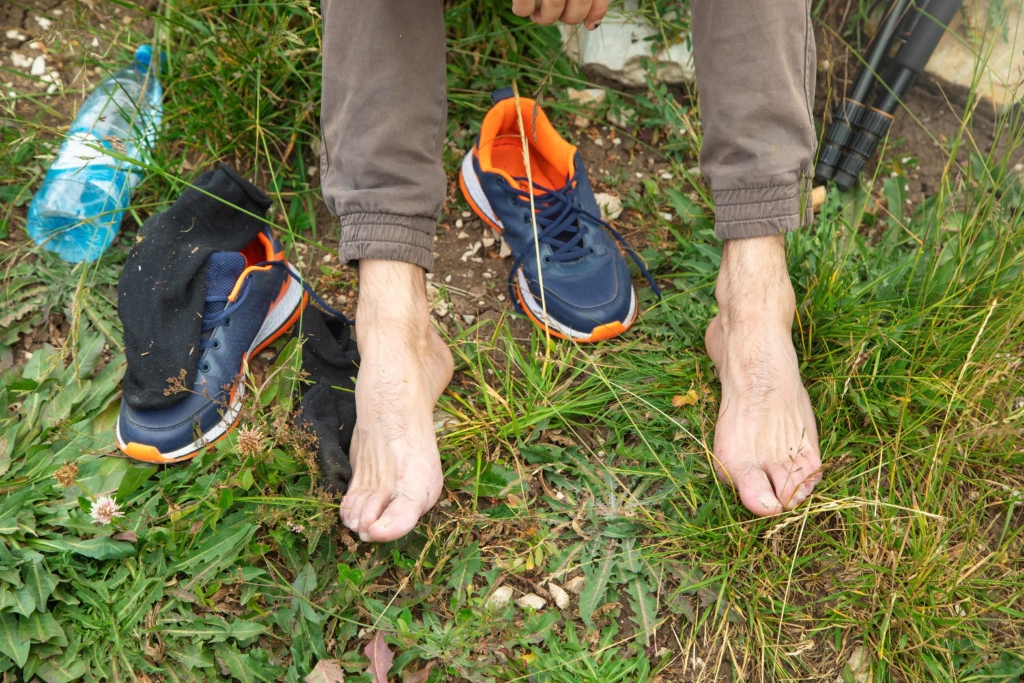 Boots and thermosocks form a single system. Try on and break in boots in exactly the socks you will wear on the route.
Choose the right socks. No boot will save you from blisters if the socks beneath are cotton or cheap synthetics with thick seams — and worse, if they slide down forming folds. You need specialized trekking thermosocks made of smart synthetic or merino wool. This pair provides thermoregulation (reducing overheating and sweating) and lets the foot slide slightly inside the boot — so the material, not your skin, gets rubbed. Depending on trek length and expected weather, take 2–5 pairs so you can change as they get dirty or wet.
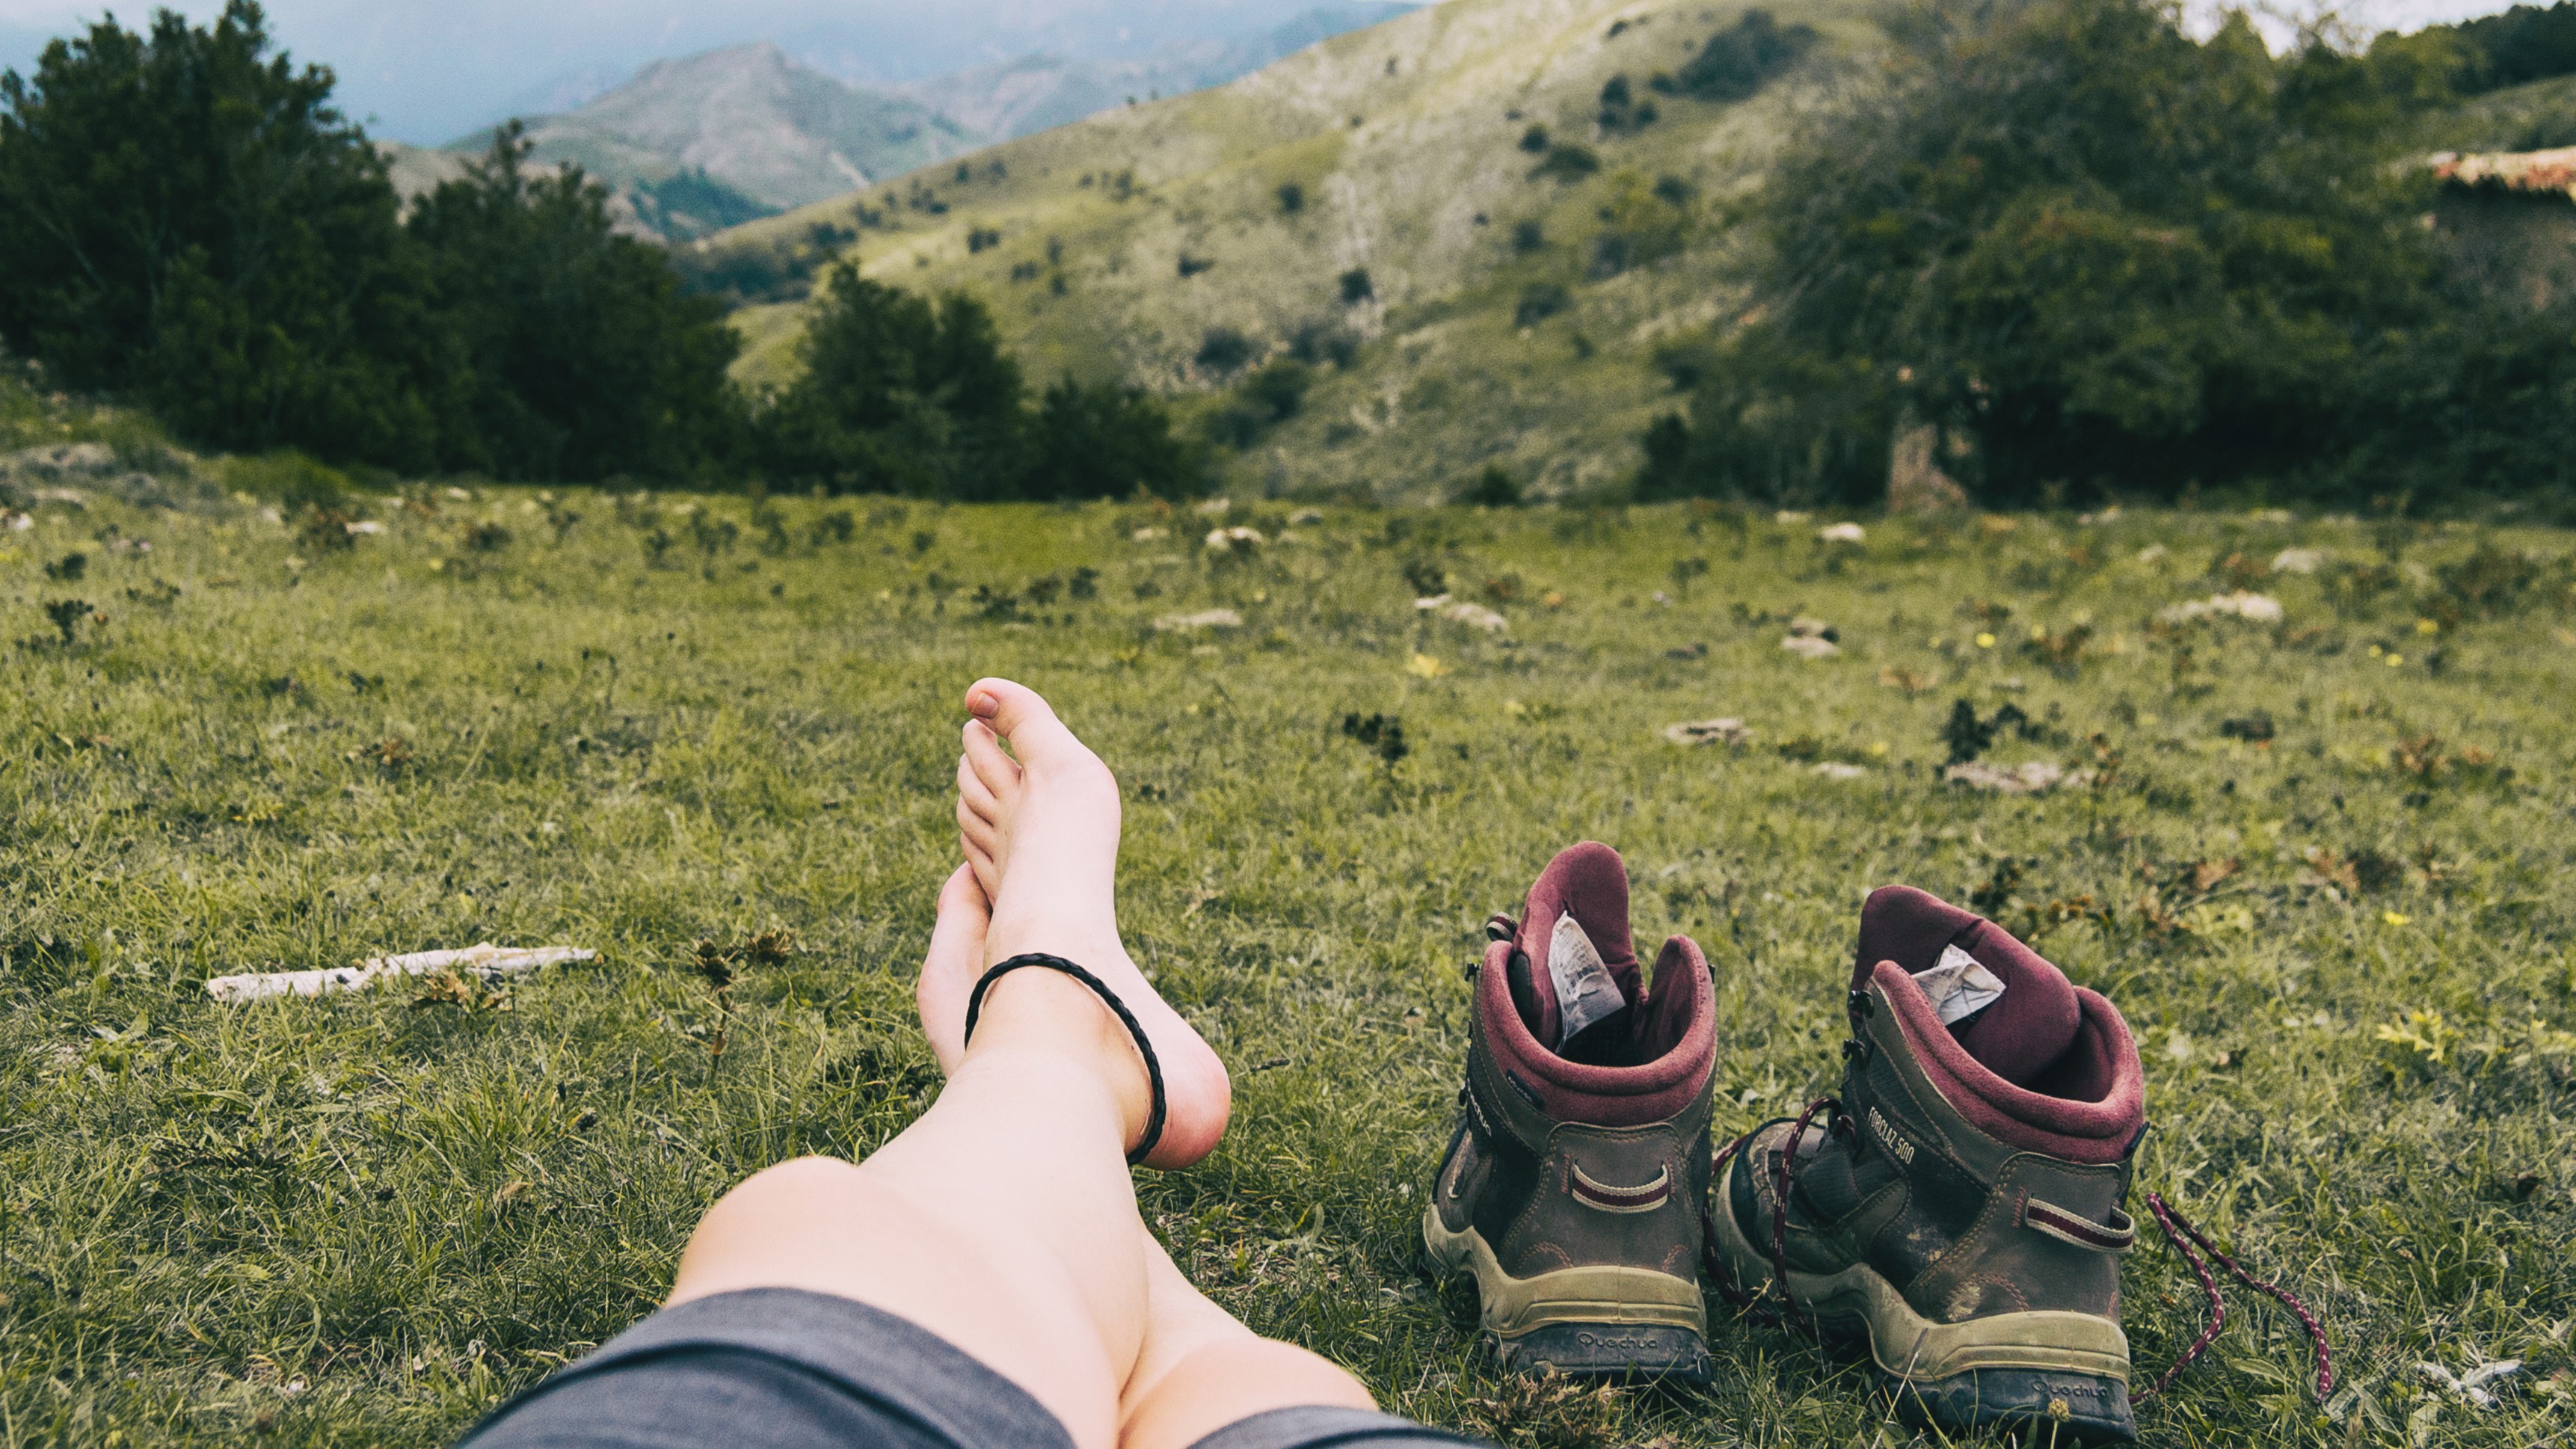
Condition your feet for long travel across varied terrain. Walk barefoot as much as possible on grass, gravel, sand. Break in your trail footwear well in advance, even if it isn’t new but has spent months in the closet. Start with short walks, gradually increasing load and changing terrain (rocks, forest, up-down). Your feet will adapt to the unusual boots, and you’ll find vulnerable spots early to pre-tape before setting off.
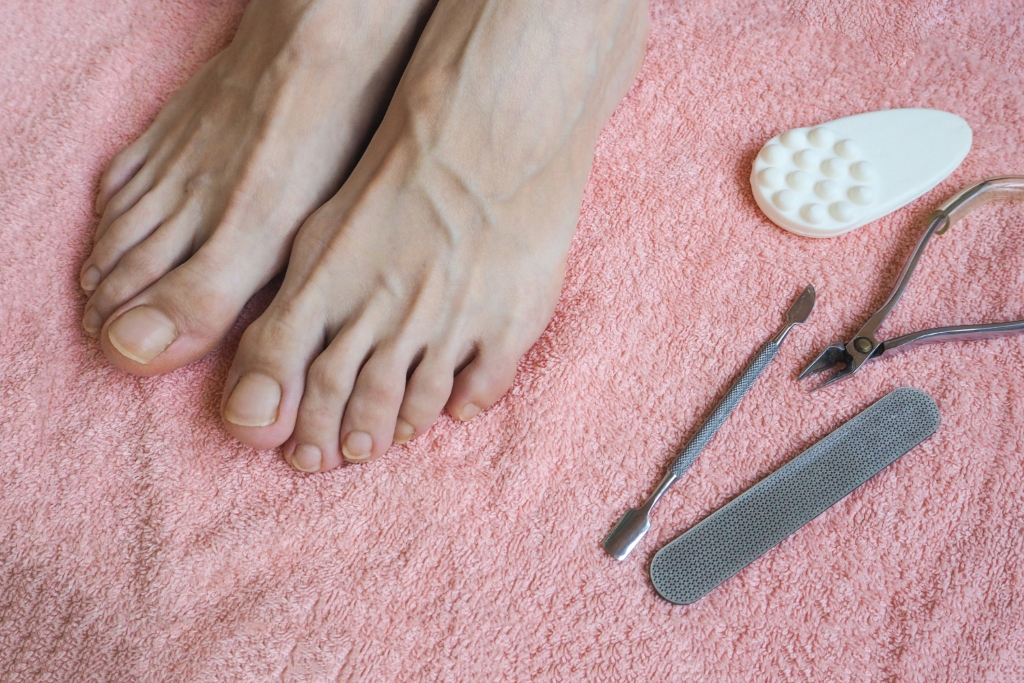 …and trim your nails on time. 😉
Pack a kit for blister prevention and treatment in trail conditions:
We will explain how to use all this goodness later — though, of course, we hope you never need to dive into the trail first-aid kit.
Take note of a few “folk” life hacks. The better a sock slides in a boot, the less skin friction. Silicone-based fabric softener boosts slipperiness: simply soak socks in it and, without rinsing, dry them. You can carry a concentrate on the trek and re-treat the hiking pair after washing. Another method: wear nylon knee-highs over socks — it can surprisingly also guard against blisters. Still, taping remains best. By the way, if the right tape isn’t available, kinesiology tape can substitute; it’s wide and sticks smoothly without folds.
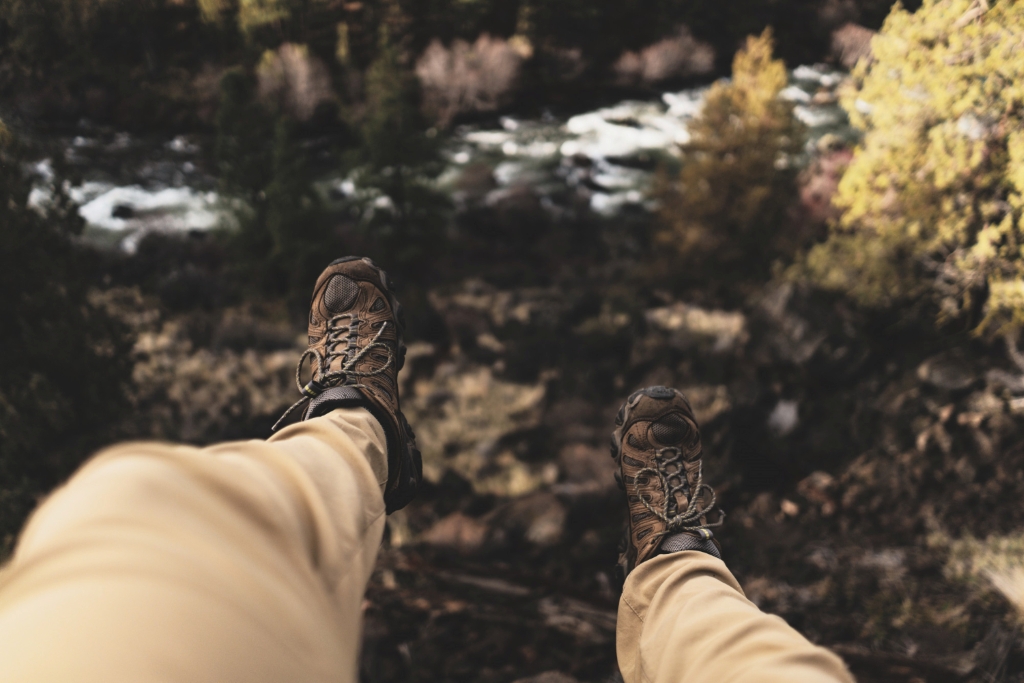
Picture this: you’re at the start, the world of mountains and wild beauty ahead, civilization behind. Over the next days your body will face unfamiliar loads. How to help it avoid blisters?
Preventive skin treatment. You already know — or at least suspect — which areas will suffer the most friction, so protect them in advance. Apply an anti-blister product (stick or regular antiperspirant) or tape. The instruction for correct taping is below.
Foot hygiene and care. Wash feet regularly with soap or wipe with antibacterial wipes. Dry thoroughly with a towel. Trim nails and hangnails neatly. Whenever possible, let feet rest and “breathe”; walk barefoot at bivouac.
Timely sock changes. Don’t hike in dirty, sweat-soaked, and/or wet socks — these also promote skin rubbing. And the less dirty an item, the easier it is to wash in the field.
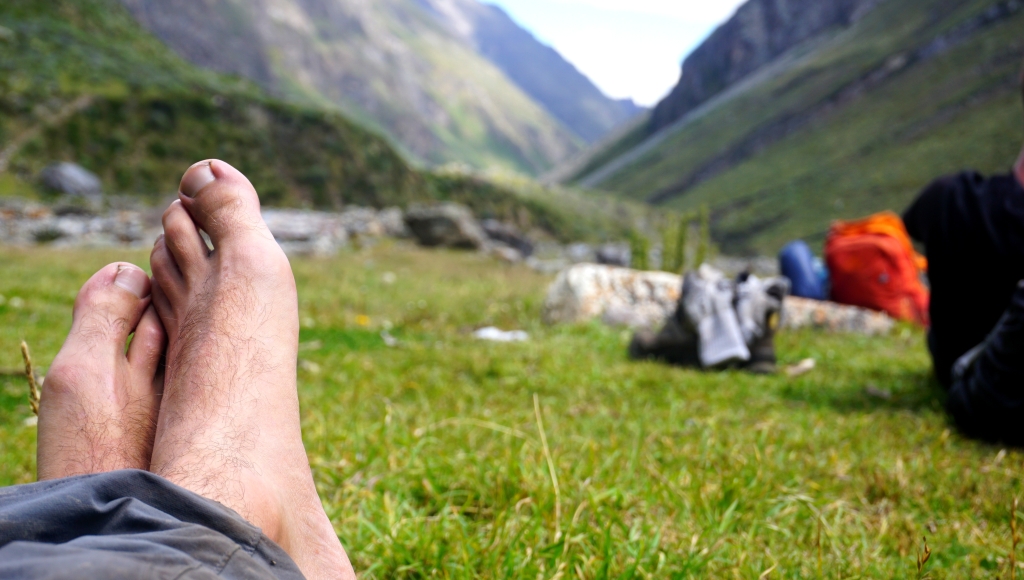 High temperature and humidity promote swelling and softening of skin, which in turn leads to water blisters.
Prompt removal of factors provoking friction. Sure, you won’t take off crampons just to reduce heel load, but you can knock packed snow from their soles more often. Don’t be lazy about shaking sand and debris out of boots, or wear gaiters. Use lacing smartly — it lets you adjust boot fit to your foot’s state and the terrain’s difficulty.
Inspect feet and heed sensations. On the first hiking day and whenever terrain changes drastically (flat path to ascent, ascent to descent, boulder field to scree), inspect feet for chafing quite often. Breaks are usually every 30–50 minutes — perfect for checking. If there is redness, burning, itching, act immediately; don’t let a blister develop.
In any unclear situation consult the instructor, guide, team leader, or another more experienced person in the group.
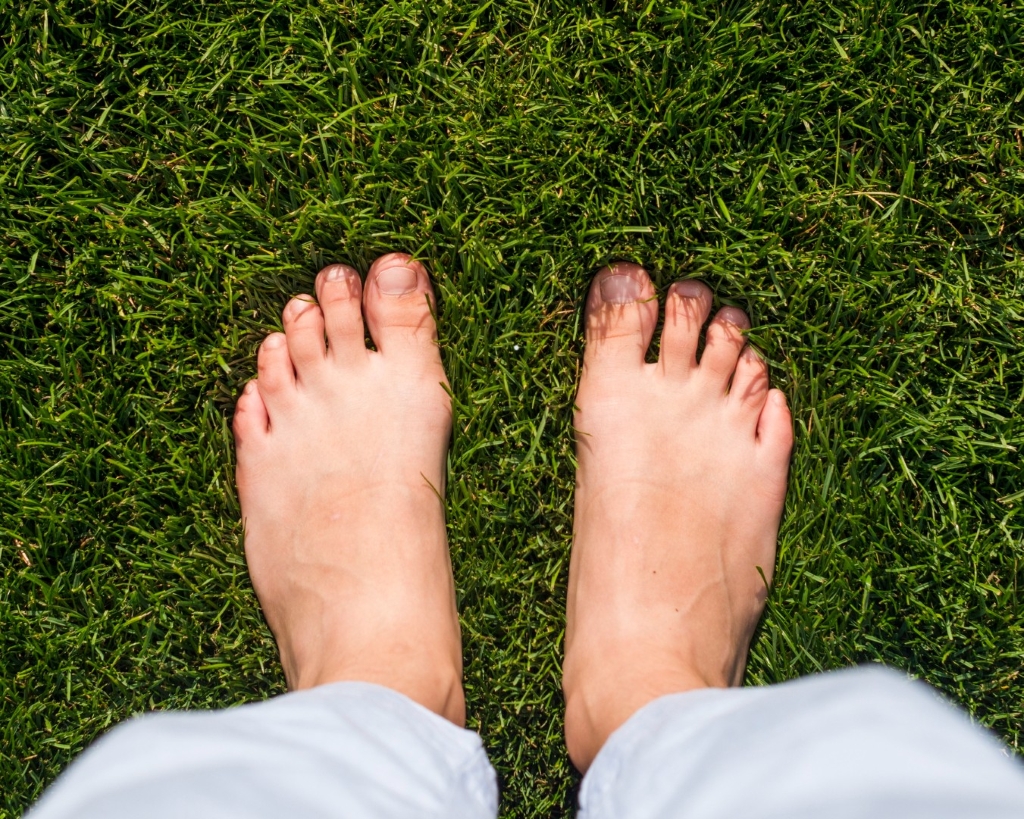
Important: deciding how and with what to treat water blisters is a doctor’s prerogative; you can give only first aid. So, step-by-step for a foot blister:
If the blister has burst, before taping additionally treat it with chlorhexidine and apply Levomekol or another wound-healing ointment.
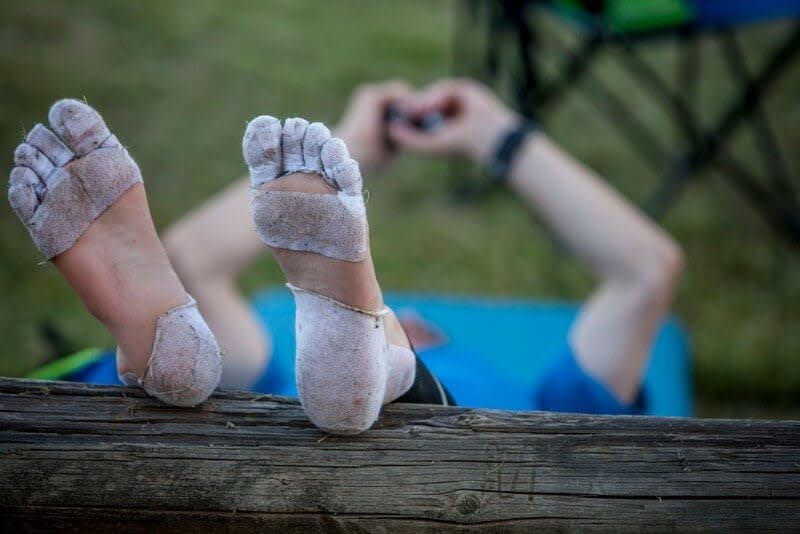
One more tip. If you like hydrocolloid plasters, read and follow the instructions carefully. In particular, they are recommended for no longer than a day or two — so they are suitable for a weekend trek or for use near the end of a longer hike… And may only pleasant impressions, positive emotions, and the desire to continue the Journey in the Mountains finish the trek with you!
And if to the Mountains — then with KULUAR!